I first learned about the orbtrace-mini on Hackaday. Upon reading that article, I immediately sent [zyp] an email expressing my interest. I received a prompt reply and was instructed to add myself to the waiting list. My board recently arrived!
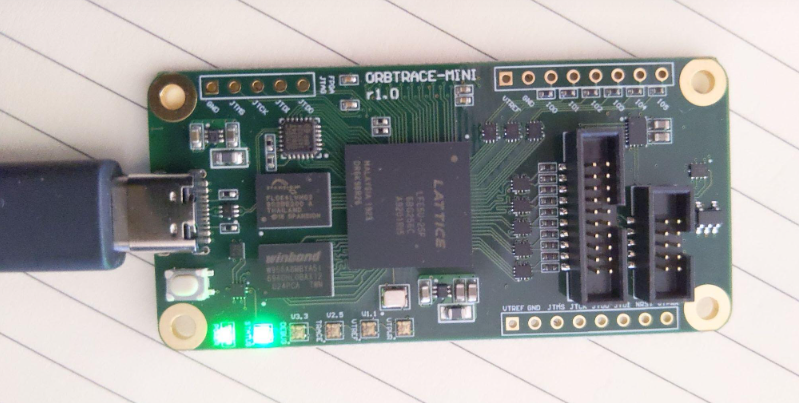
When I first plugged my new orbtrace-mini into Windows 10, I saw the usual song-and-dance about installing a new device. There was a small delay and then a message that “Your device is setup and ready”.
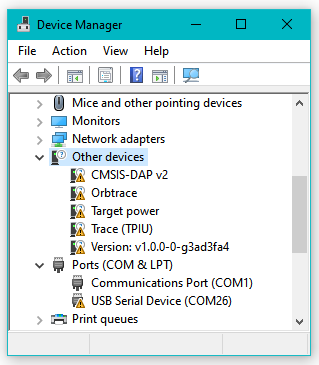
I Check Device Manager, just to be sure. I saw all these warnings:
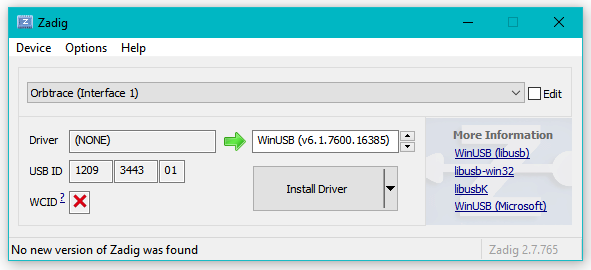
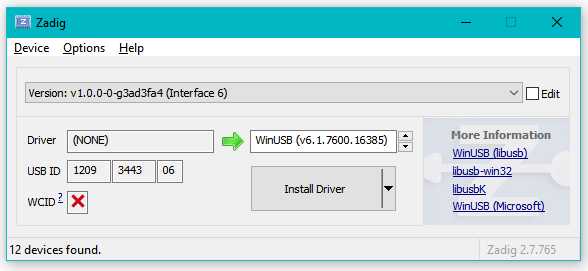
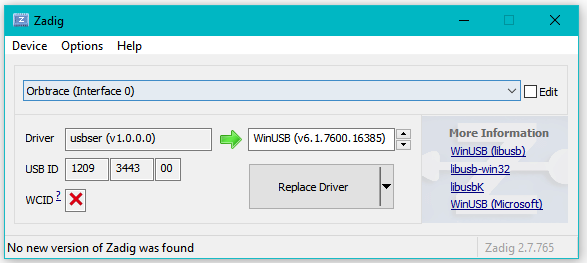
Indeed Zadig indicated that the device is likely less than ready:
So I instead connected the device to my Ubuntu VM, But I saw this error:

So I went back to Windows. The instructions say to use mysys32 / ming32 and ran the command:
pacman -S mingw-w64-x86_64-meson mingw-w64-x86_64-SDL2 ninja mingw-w64-x86_64-libusb mingw-w64-x86_64-toolchain mingw-w64-x86_64-zeromq git
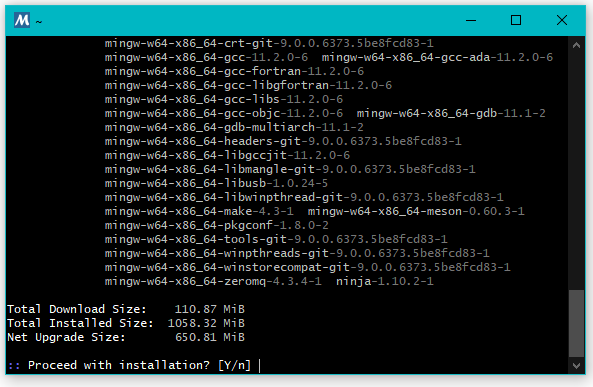
But saw this error:
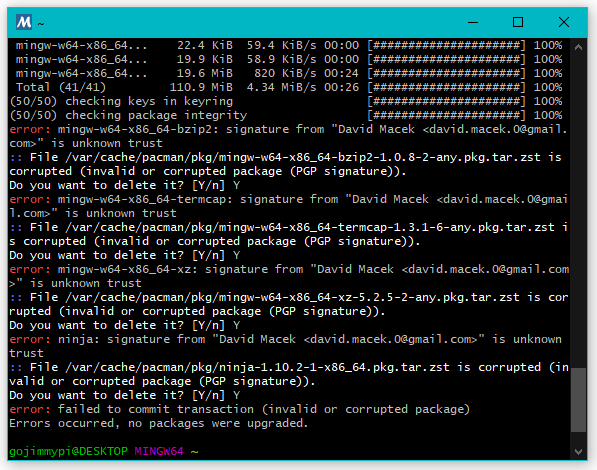
I don’t use mingw very often, particularly now that WSL is so cool. I needed to google how to update, as ‘aptget -update’ of course doesn’t work here. I tried to update:
pacman -Suy
Actually, I ended up running pacman -Sy and pacman -Su several times until they reported there was nothing to do.
ming64 claimed it needed to exit, so I allowed it… gave it some time, and tried again. New error:
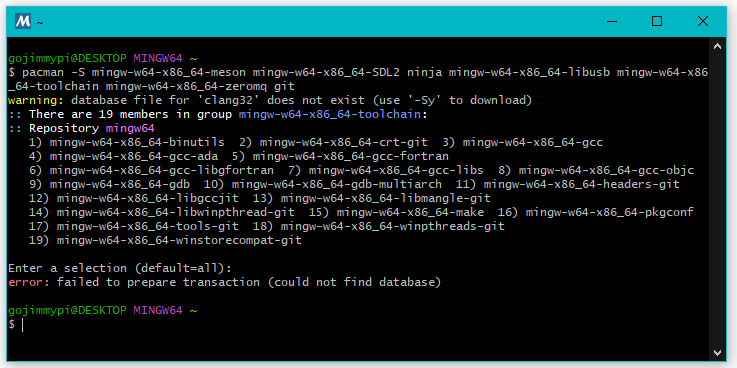
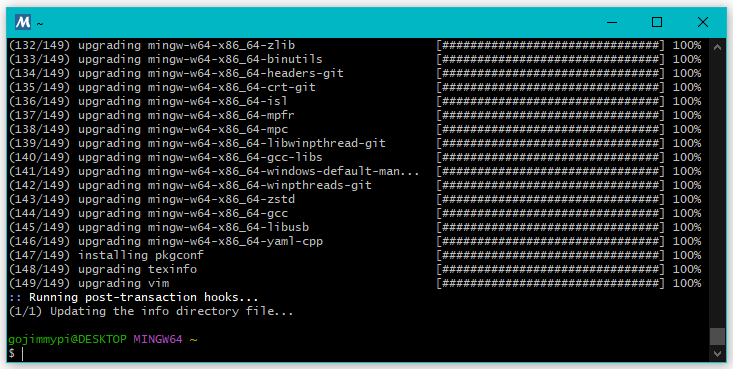
I ran pacman -Suy a second time. This next time took much longer to complete:
Now for the build:
git clone https://github.com/orbcode/orbuculum.git
meson setup build
ninja -C build
meson configure build --prefix A:/
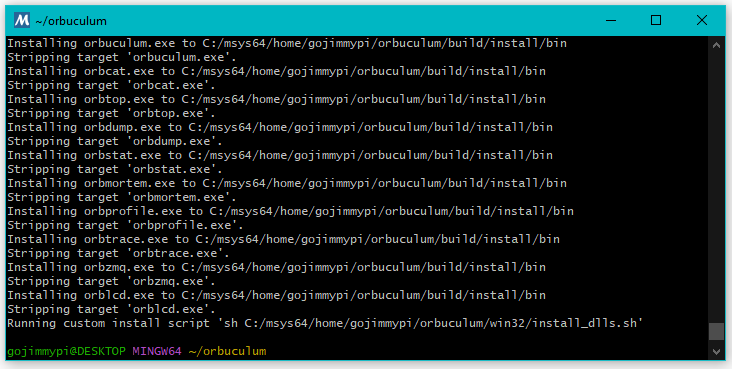
meson install -C ./build --destdir ./install --strip
All my Windows executables ended up in C:/msys64/home/gojimmypi/orbuculum/build/install/
The file path can be pasted into Windows File Explorer, even with forward slashes.
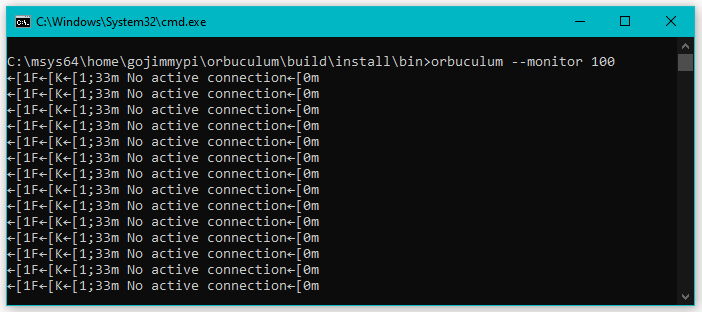
I see a similar response in ming64:

This is almost certainly an issue easily resolved with Zadig, but I’ve been unable to find anyone else that encountered this problem and I don’t know which drives to use for all the different devices. I’ve reached out on Discord and will update here soon.
I had a reply from [zyp] almost immediately:
you might want to start by loading a newer gateware on it, WCID descriptors were added in v1.1 and should make the windows experience more pleasant
The instructions for installing openFPGALoader are refreshingly easy! No fuss with clone, toolchain, build, etc. I was able to install on Windows using MSYS2/MingW:
pacman -S mingw-w64-ucrt-x86_64-openFPGALoader
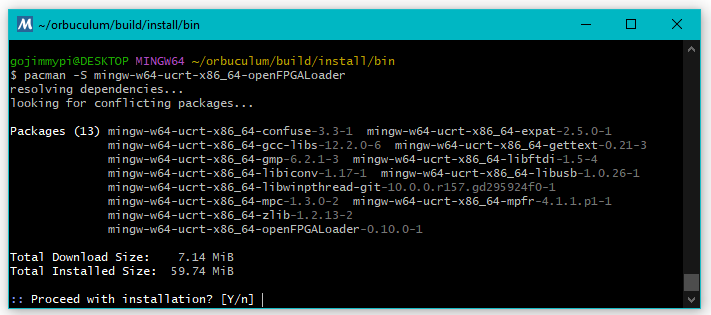
The executable gets installed to C:\msys64\ucrt64\bin.
Running from a DOS prompt and the device is not found. Tried unplugging and re-plugging. Same result:

Tried running the command from the MingW prompt:

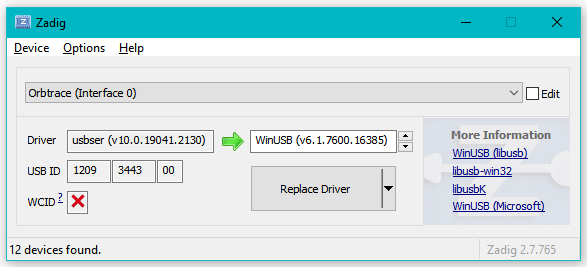
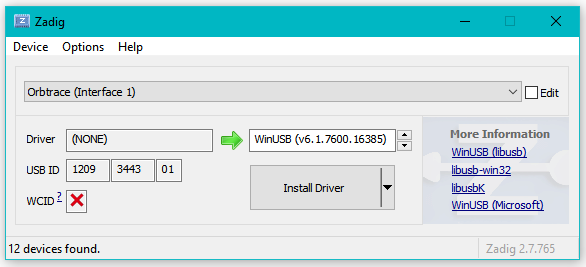
This is not really a surprise, as Windows still lists “none” for most of the drivers:
Interface 0:
Interface 1:
Interface 2:
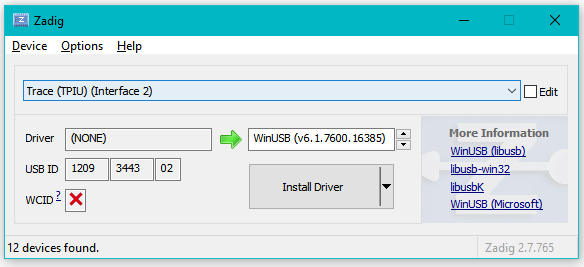
Interface 3:
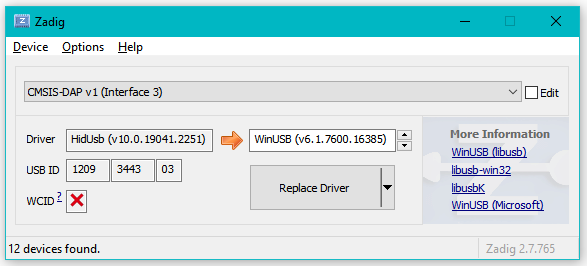
Interface 4:
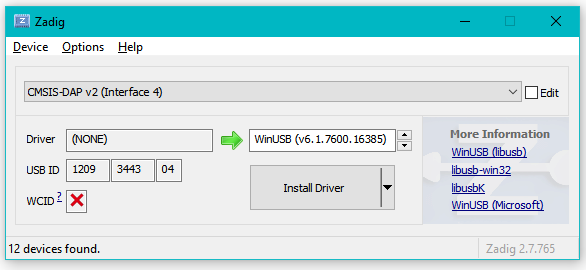
Interface 5:
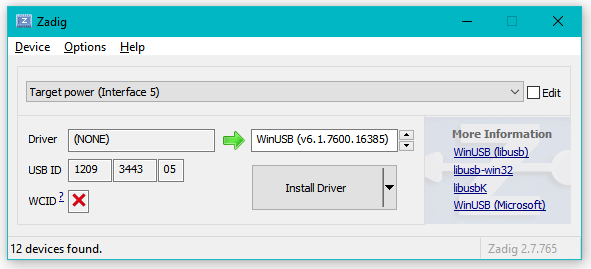
Interface 6:
I also tried using the dfu_util that’s worked for my ULX3S, but saw the same results:
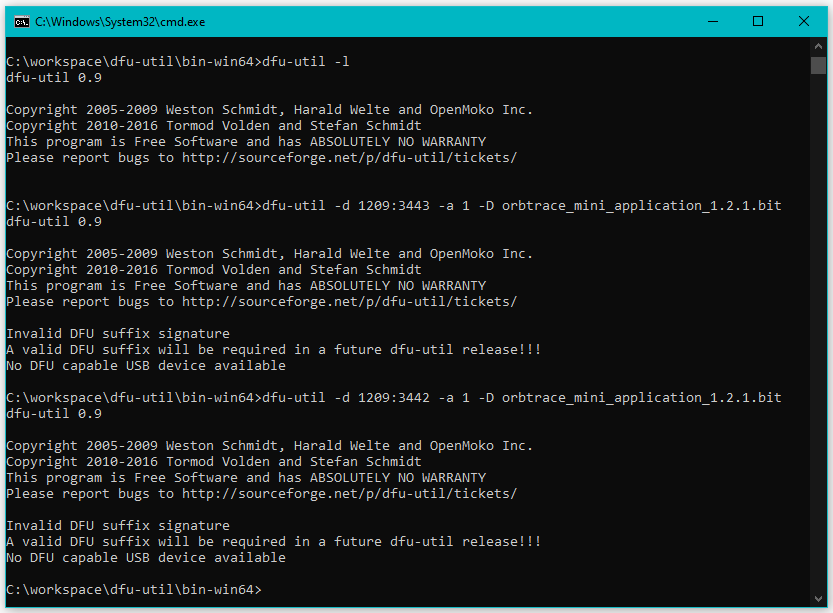
I noticed there’s a discrepancy on USB Device ID between the Build Instructions and my board. So I opened orbtrace #12.
I tried to use Zadig to set a variety of drivers on Interface 0 without success.
Having no luck on Windows, I tried dfu-util on my Ubuntu VM.
I already had 0.9 installed, but it could not see any devices.
Next I tried the latest version from as described on dfu-util.sourceforge.net.
Still no joy.
sudo apt-get install libusb-1.0-0-dev autoconf

git clone git://git.code.sf.net/p/dfu-util/dfu-util
cd dfu-util


./autogen.sh
./configure  # on most systems
make

Milestone
After all of the above, I realized I was confusing the bootloader (aka gateware) with the application. I ended up completing my upgrade steps in an Ubuntu VM, not Windows.
Bootloader mode is when the purple light is on. Key here: HOLD DOWN the button while powering the device up UNTIL the light turns purple.
When in bootloader mode, the USB Device ID is 1209:3442. That last digit is a TWO!
When NOT in bootloader mode, he USB Device ID is 1209:3443. That last digit is a THREE!
Be sure to specify a slot for dfu-util (the -a parameter); Slot 0 is not used.
The application gets loaded into SLOT 1 with the dfu-util parameter -a 1.
The bootloader gets loaded into SLOT 2 with the dfu-util parameter -a 2.
BE SURE to not mix up the slot numbers with application vs bootloader. If you do, well, don’t power cycle until you load the correct one in the proper slot.
When in bootloader mode, power cycle to return to operational mode. The device ID will change from 1209:3442 to 1209:3443.
Note there are build instructions and slightly different instructions on the release page. The release instructions are a bit more clear at the time of this blog.
BOTH the application AND bootloader need to have the purple light on to load.
Version 1.2.0 being installed here:
# application in slot 1
dfu-util -d 1209:3442 -a 1 -D orbtrace_mini_application_1.2.0.bit

# bootloader (aka gateware) in slot 2
dfu-util -d 1209:3442 -a 2 -D orbtrace_mini_bootloader_1.2.0.bit
A successful orbtrace application update looks like this:
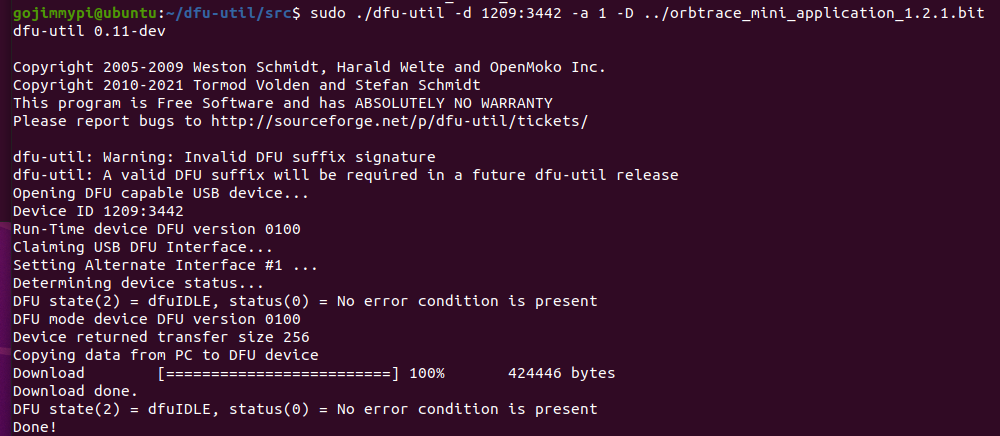
A successful orbtrace bootloader update looks like this:
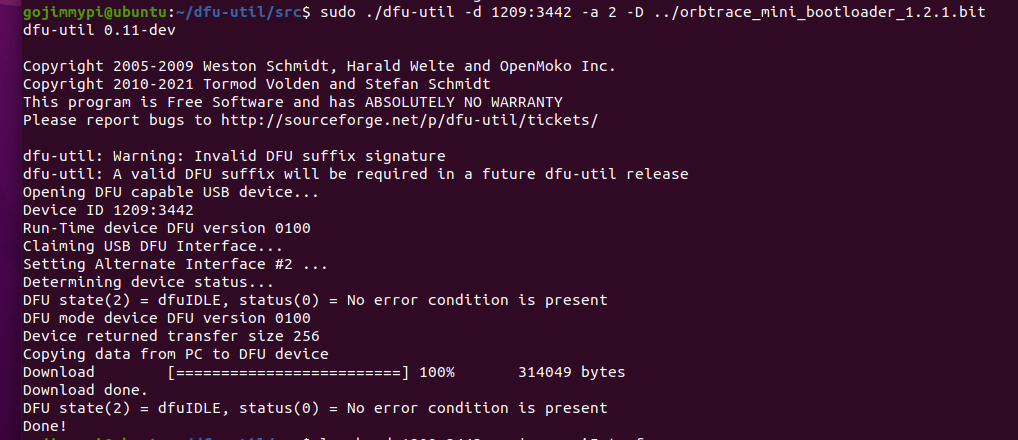
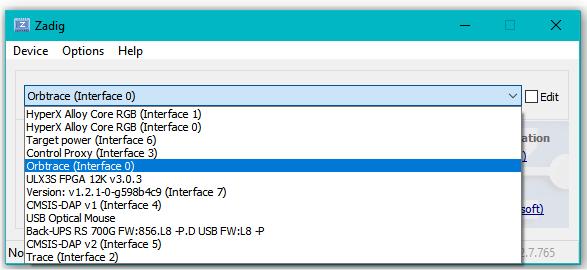
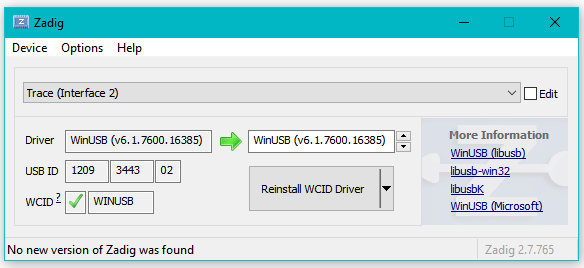
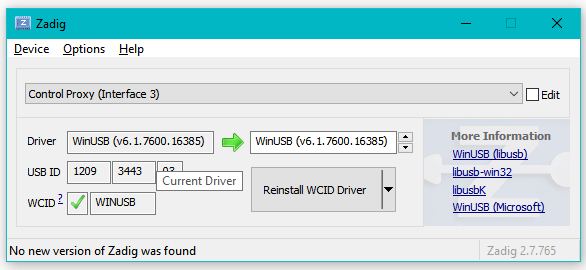
For reference, after the upgrade to v1.2.1 (and not usins Zadig to force device drivers), I see these:
Interface 0:
Note that I do not see Interface 1:
Interface 2:
Interface 3:
Interface 4:
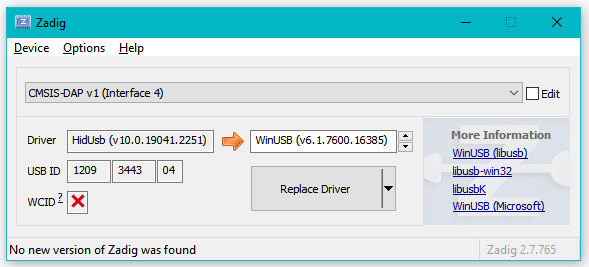
Interface 5:
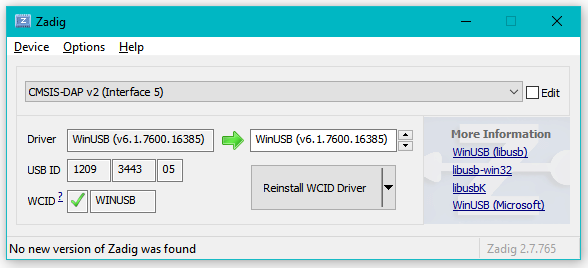
Interface 6:
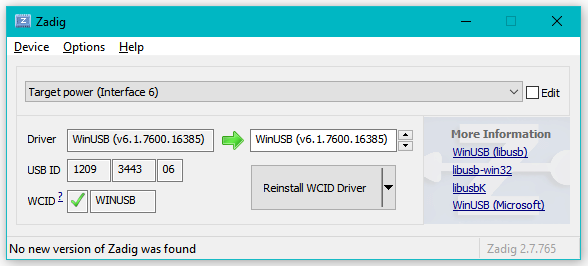
There’s a new Interface 7:
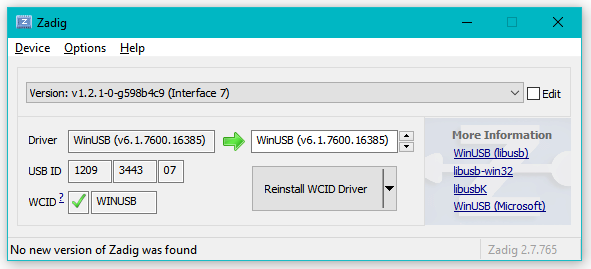
Huge thanks to [mubes] and [zyp] on the 1bitsquared orbuculum discord channel for helping me get my board upgraded and working.
- orbcode.org ORBTrace mini
- orbcode.org Getting Started ORBTrace for Debugging with openocd
- blackmagic-debug blackmagic/driver/99-blackmagic-plugdev.rules
- orbcode orbtrace building
- orbcode orbuculum
- trabucayre First steps with openFPGALoader
- sourceforge dfu-util See build instructions
- orbcode orbtrace/releases (be sure to see the installation instructions there)